
Canning Fresh Green Beans
posted on
July 7, 2023
Canning Green Beans for winter is a new process to me but my Mother-In-Law was kind enough to show me the ropes.
The first thing to note is that fresh green beans can be preserved many ways, and most ways come down to tradition. We used a pressure canner to preserve 21 quarts of green beans, this was 2, 5 gallon buckets full from the garden.
If you've never picked green beans from a garden before, my best advice is to start early in the morning before it gets hot. The cool crisp air, wet plants and a light breeze while chatting in the garden was the perfect way to start the day opposed to sweating in the sun while fighting off the bugs.
So, we started early and picked our beans off of the bush plants. We then took them into the house to give them a quick wash in the sink. Fill up your sink, let them soak for 15 minutes or so then drain the water, rinse again and then fill a bowl to start snapping.

When you snap beans you'll need:
- A bowl or bucket to hold your freshly washed green beans.
- A bowl to hold your snapped beans.
- A hand towel to dry your hands or beans.
- A small knife to cut out any bad spots.
All "snapping beans" means is to snap the ends off, and remove any strings then break into 2 for it to be in "bite size" pieces. It's a time consuming process but with good company and conversation, it goes quickly!
Prepping To Preserve
After all the beans are snapped, we then washed our quart sized jars in hot soapy water. During this time we also filled up our pressure canner to begin heating on the stove. Green Beans should be pressure canned instead of water bathed because they are low in acidity, this method preserves them for year(s).
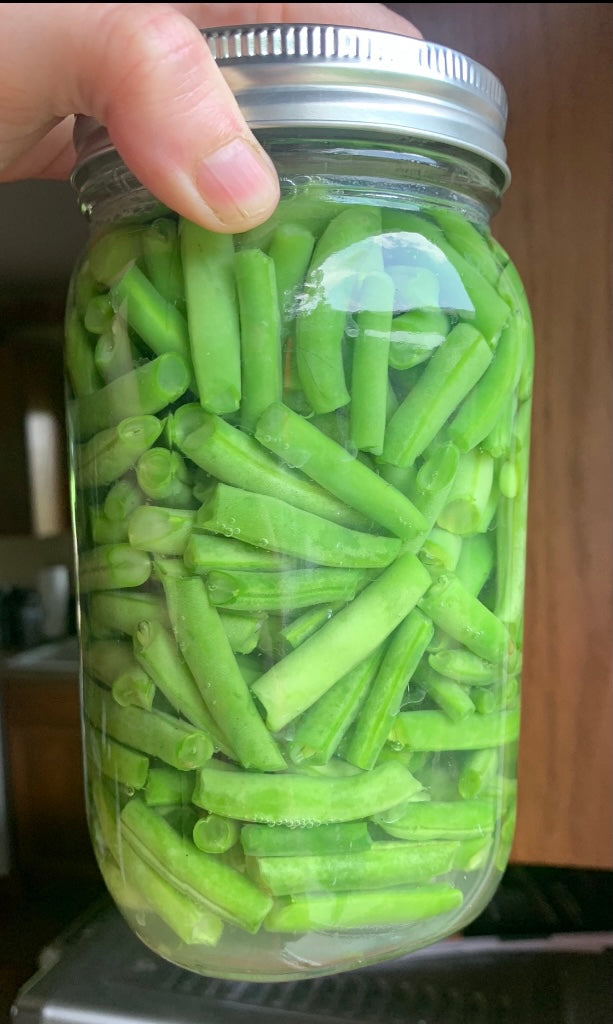
Once the jars are clean and warm, we use a canning funnel to fill up our jars with washed green beans. For quart size jars you will pack the beans tightly into the jar (make room by tapping the jar onto a folded hand towel on the counter) then leave about 1/2 inch of headroom at the top. Once the beans are packed tightly, put 1/2 teaspoon of table salt into the jar then fill the jar with hot water (we kept a tea kettle full on the stove throughout the process). Place the lid on the jar then the ring and set aside until it's time to go into the canner. Note: if you are jarring up more than your canner can hold, put the glass jars on the stove to stay warm so the glass doesn't bust when it goes into the hot water.

We pressure canned our beans for 20 minutes at pressure level 10. Once the canning is done, carefully remove the jars from the canner and set on a towel to cool completely before storing. You will know the jars are completely sealed because the lids will "pop" and you won't be able to push down on the lid. The end result is below, beautifully preserved green beans that will feed our family through the winter. I hope you've enjoyed this blog post and if you have any questions, please feel free to leave a comment below and I'll get back to you once I check with the canning master aka my Mother-In-Law, Myria! ;)
Until next time, friend!


